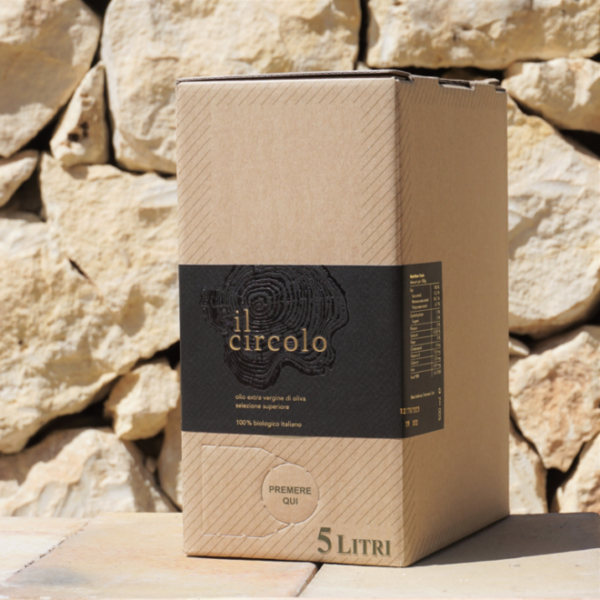
4 Reasons to buy olive oil in a Bag-in-Box
The bag-in-box (abbreviated as BiB) has been known as a packaging concept for a long time. The packaging consists of
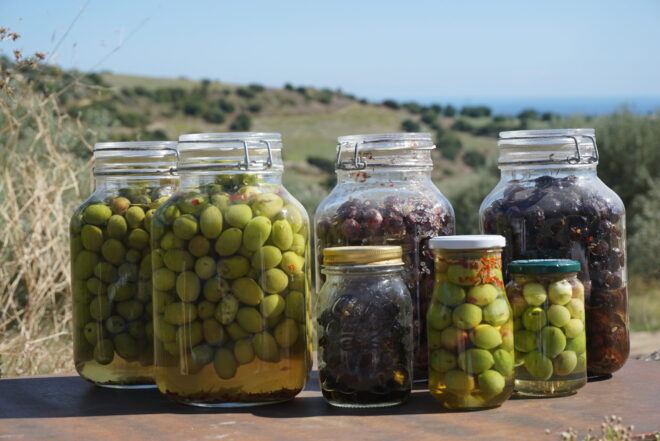
Even though the extraction of olive oil is a big industry, it is not the only product that is made from fresh olives. Table olives are a popular snack or addition to a meal in many recipes in various cultures. However, the way fresh olives are prepared for eating differs from region to region and sometimes is a family’s best kept secret. The different recipes that we found for curing olives made us curious. How do you make table olives? Why would you cure olives? And what exactly happens when you cure olives? We have put together a few tips and tricks for you to keep in mind when curing table olives yourself.
Freshly harvested olives are very bitter and therefore need to be ‘cured’ to make them pleasantly edible. The bitterness comes from their high polyphenolic and tannic acid content. However, freshly harvested olives are not harmful when eaten before curing. They will not make you sick but most certainly you will immediately spit them out.
Curing refers to the processes of removing the bitterness from the olives and at the same time conserving them for longer storage. It is an ancient practice still used to this day. There are multiple ways to cure olives and make them as sweet or tasty as possible: with quicklime, with soda, and with brine, a high-concentration solution of salt in water. Depending on the type of olive you are using and the taste you want to achieve, you can decide which curing method to use. The method used will then determine how long it takes to cure the olives.
Before you start curing your own table olives, there are a few things you should know. Unless you have a small olive grove with the possibility of harvesting your beautiful, fleshy olives directly from the olive tree, you may have difficulty finding fresh olives. If you do find them, it is better to buy them in quantity and prepare several jars because it is really worth it. Choose olives that are fleshy and tough to get the best results.
If the olives ripened on the tree and changed their colour from green to black, natural processes during ripening already have reduced the original bitterness. However, to conclude this process and to ensure that the olives are well preserved, salt needs to be added.
Salt enables lactic acid fermentation, and it has several advantages: it removes liquid from the olives by osmosis, and thus inhibits the proliferation of bacteria that would soon result in spoiling the product. The salt has a growth-inhibiting effect on undesirable bacteria even at a concentration of only 2%. Lactic acid bacteria, on the other hand, are salt-tolerant and can multiply. In the course of this process, carbohydrates (starch and sugar) are converted into lactic acid and carbon dioxide with the help of these microorganisms. This is one of the oldest biological preservation methods.
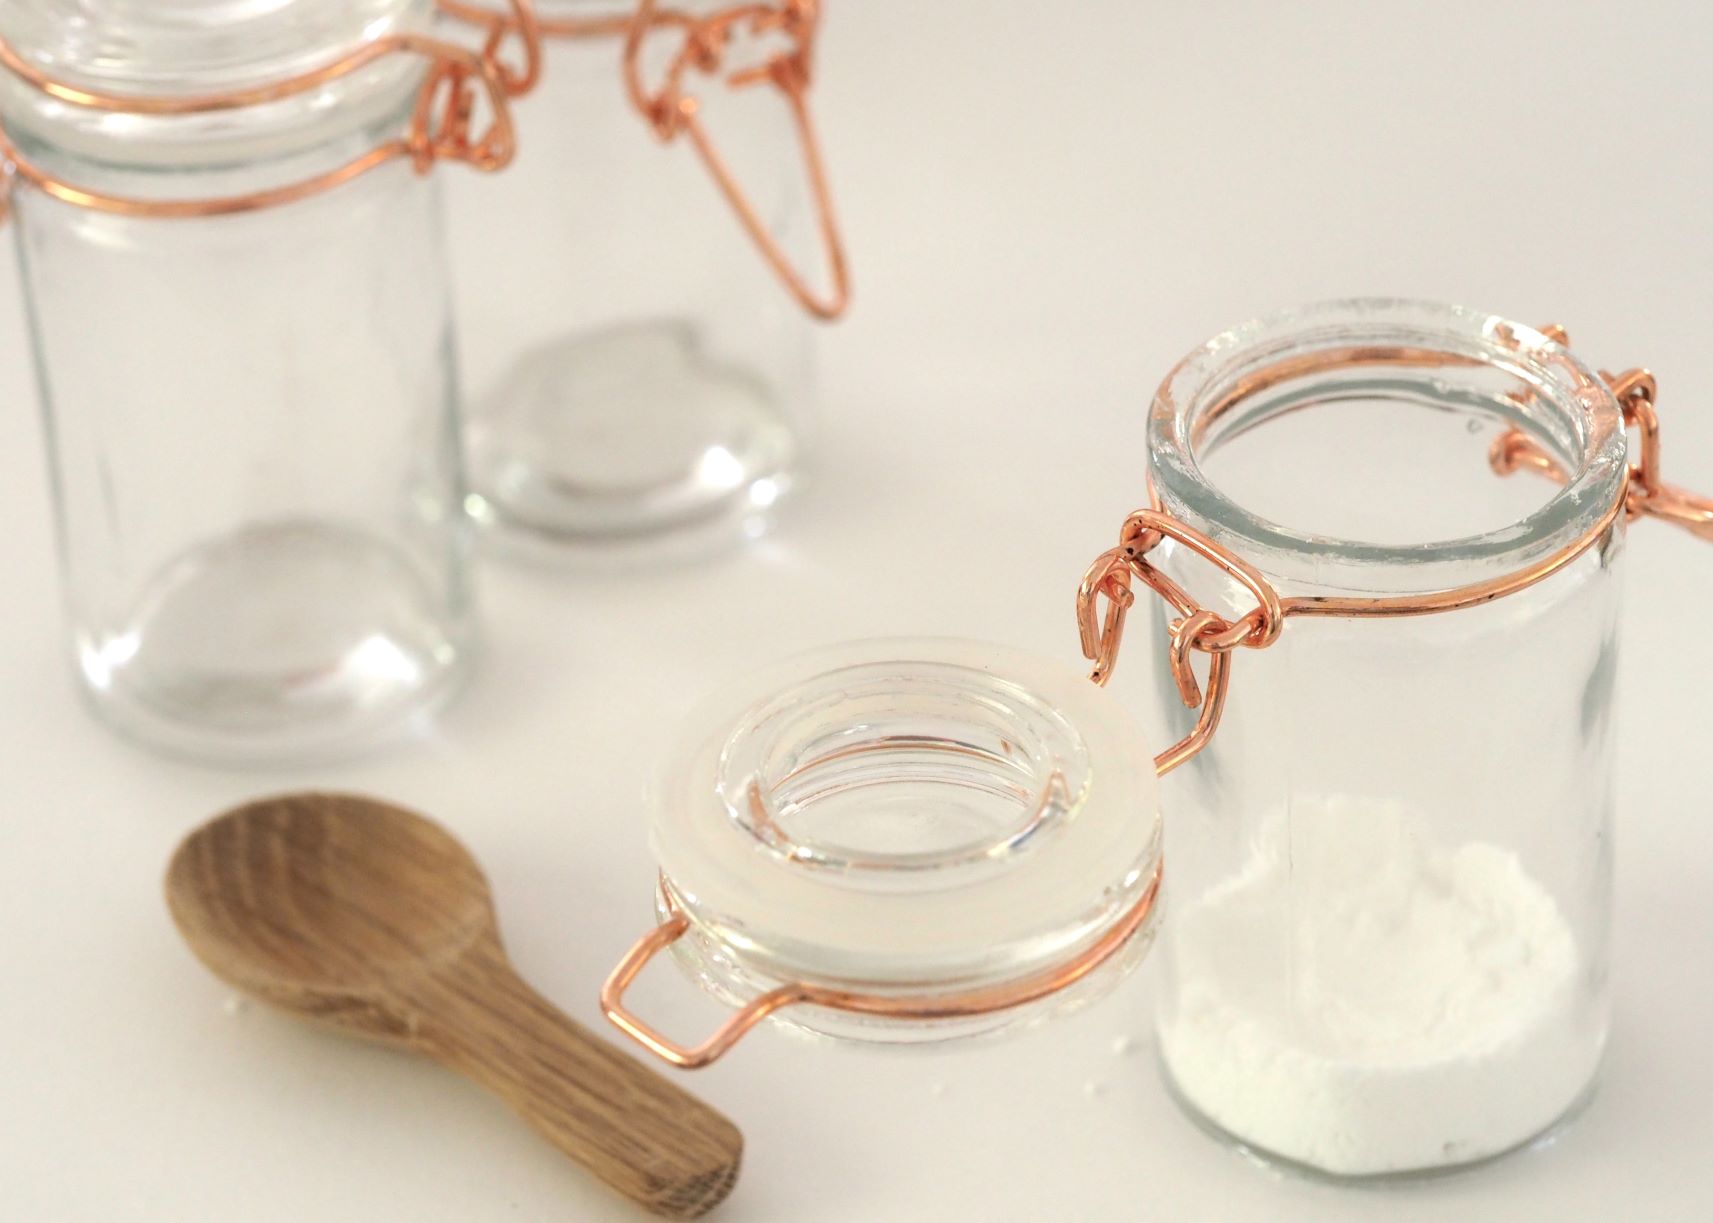
Fermented vegetables or fruit are easier to digest and healthier for the digestive tract. At the same time, fermented foods can be kept for weeks if they are stored in a cool, dark place. Fermentation takes place at room temperature and is completed within 5 to 21 days, depending on the method used.
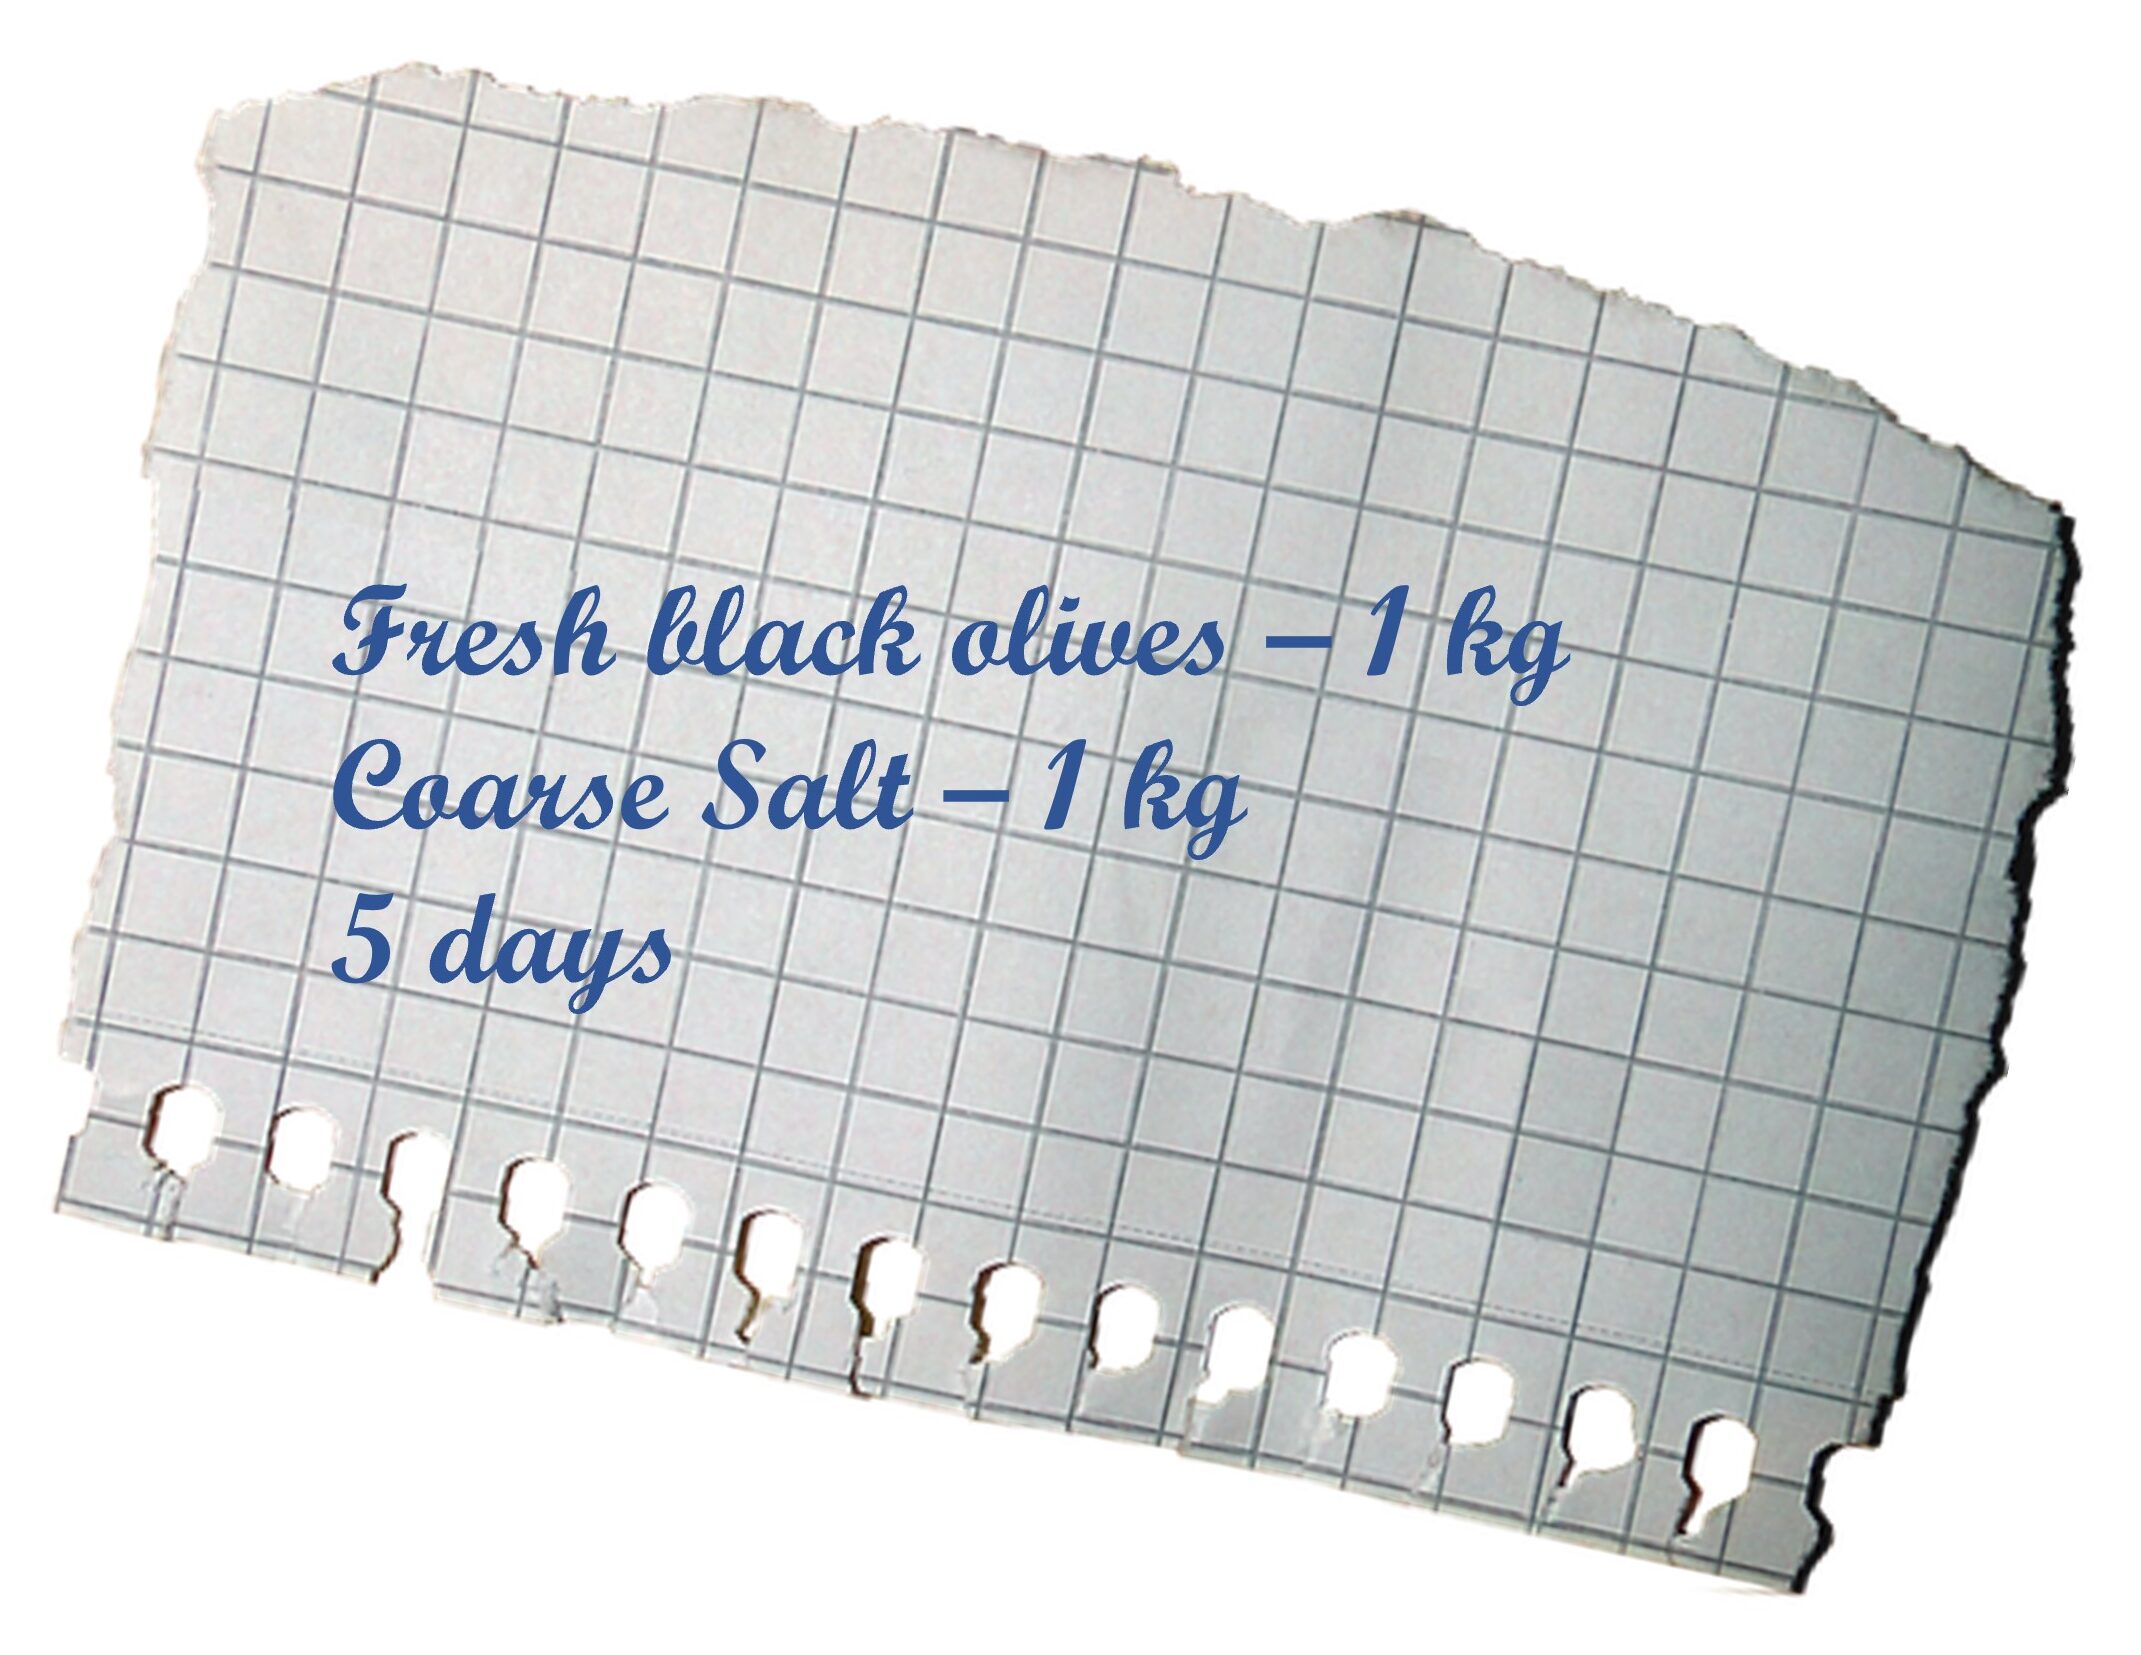
For curing black olives with salt alone use fresh black olives and coarse salt in a ratio of 1:1. Lay the washed olives in a non-corrosive dish. Sprinkle about 1/5th of coarse salt over them and mix well. On the next day drain away all the accumulated liquid. Then add another 1/5th of salt and leave to marinate. Repeat this procedure for 5 days. On the sixth day, rinse the olives well with a few changes of water. Put them into clean pickling jars. Add 1 tsp of salt and some olive oil, shake well and seal. The olives are ready after 1 week. Or, after the 5th day, spread the olives on trays and dry them in the sun, until the olives are wrinkled. The outside should be dry but the flesh should be soft enough to dent when pressed. Dried olives should be consumed within weeks, or they should be stored in a freezer.
If the fresh olives are green they still possess a high content of phenolic compounds and tannic acid and are therefore still very bitter. Since tannic acid is soluble in water, soaking the olives repeatedly in water helps remove the bitterness. Sometimes the olives are slightly cut with a sharp knife or pricked with a needle to enhance the extraction. For curing green olives in brine, you therefore need to first wash the olives and cover them with water. It is recommended to put a weight on top to keep them under water as the part that comes out of the water tends to blacken. This is compromising the aesthetics, but not the taste. The water needs to be changed daily for 20 to 25 days.
After this period they are ready for pickling. Again salt is used to ensure that fermentation takes place and only lactic acid bacteria can multiply. During this process direct access of oxygen/air should be reduced by covering them completely with brine. During the fermentation phase, the lactic bacteria start producing CO2. This phase should get going quickly, for which the lactic acid bacteria need a constant temperature of between 20 °C and 23 °C.
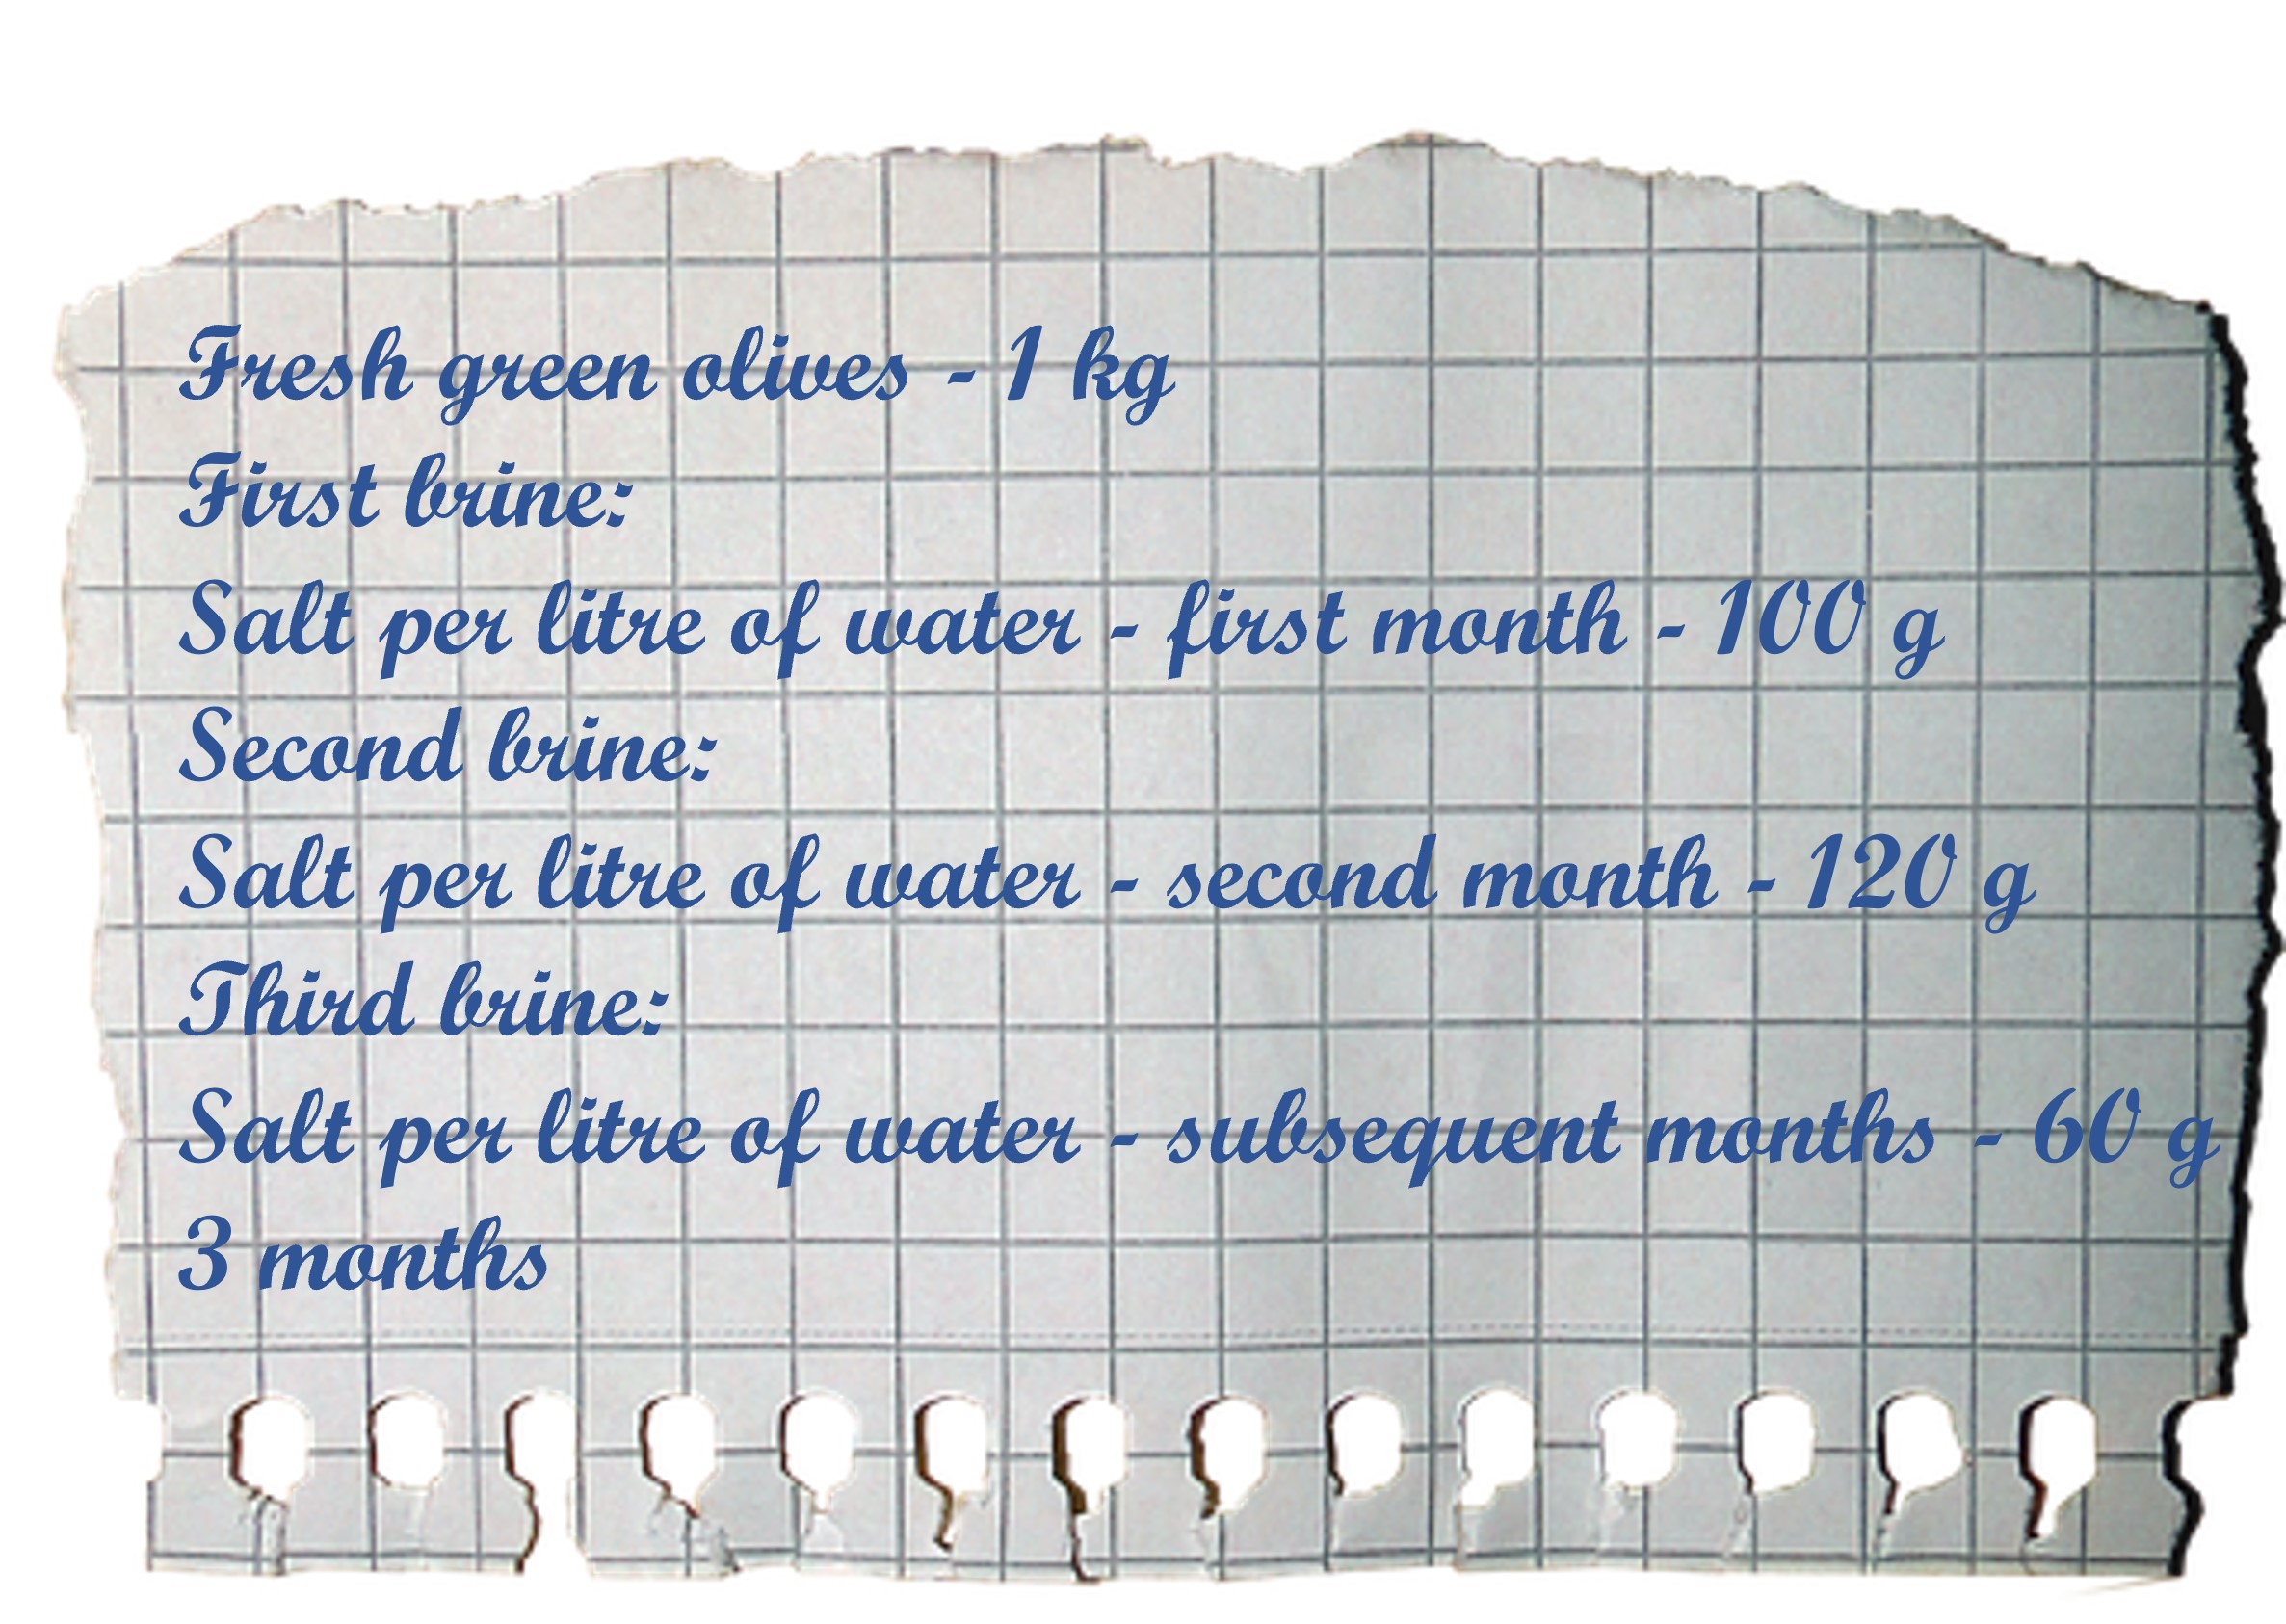
To complete the pickling, rinse the olives well, drain them and place them in a glass jar. Then prepare the 1st brine: Mix 100 g of salt per litre of cold water, boil for 5 minutes and allow the brine to cool. (10% brine). Pour in the cold (!!) brine until the olives are completely covered. Make sure there is enough water to cover the quantity of olives available. The idea is to create an anaerobic environment. To do this, the olives must be pressed under the surface. You can make a cap with plenty of bay leaves that also serve to flavour the olives, or you use weights to weigh down the olives and keep them below the surface in order to save the flavour.
Close the jar and store in a cool, dark place and wait for about a month until the microorganisms have completed their work. After that, drain the olives, remove the old brine and pour in the 2nd brine. Mix 120 g of salt for every litre of cold water (12% brine), boil and allow to cool. If you wish, add the flavourings to the olives at this point. After another 30 days, remove the 2nd brine and cover with the 3rd maintenance brine. Mix 60 g of salt per litre of water (6% brine), boil and allow to cool. The olives are ready when they lose their characteristic bitter taste (2 – 3 months), so they should be tasted from time to time. When ready to eat, the olives are rinsed in warm water and drained well, or dried. They are best eaten directly with a dash of oil, whole garlic and oregano or mint. If preserved for a longer period, a harmless white film may form on top, which can be removed with a spoon. That’s what you have if no chemical preservatives are used. Some add a little vinegar for better conservation.
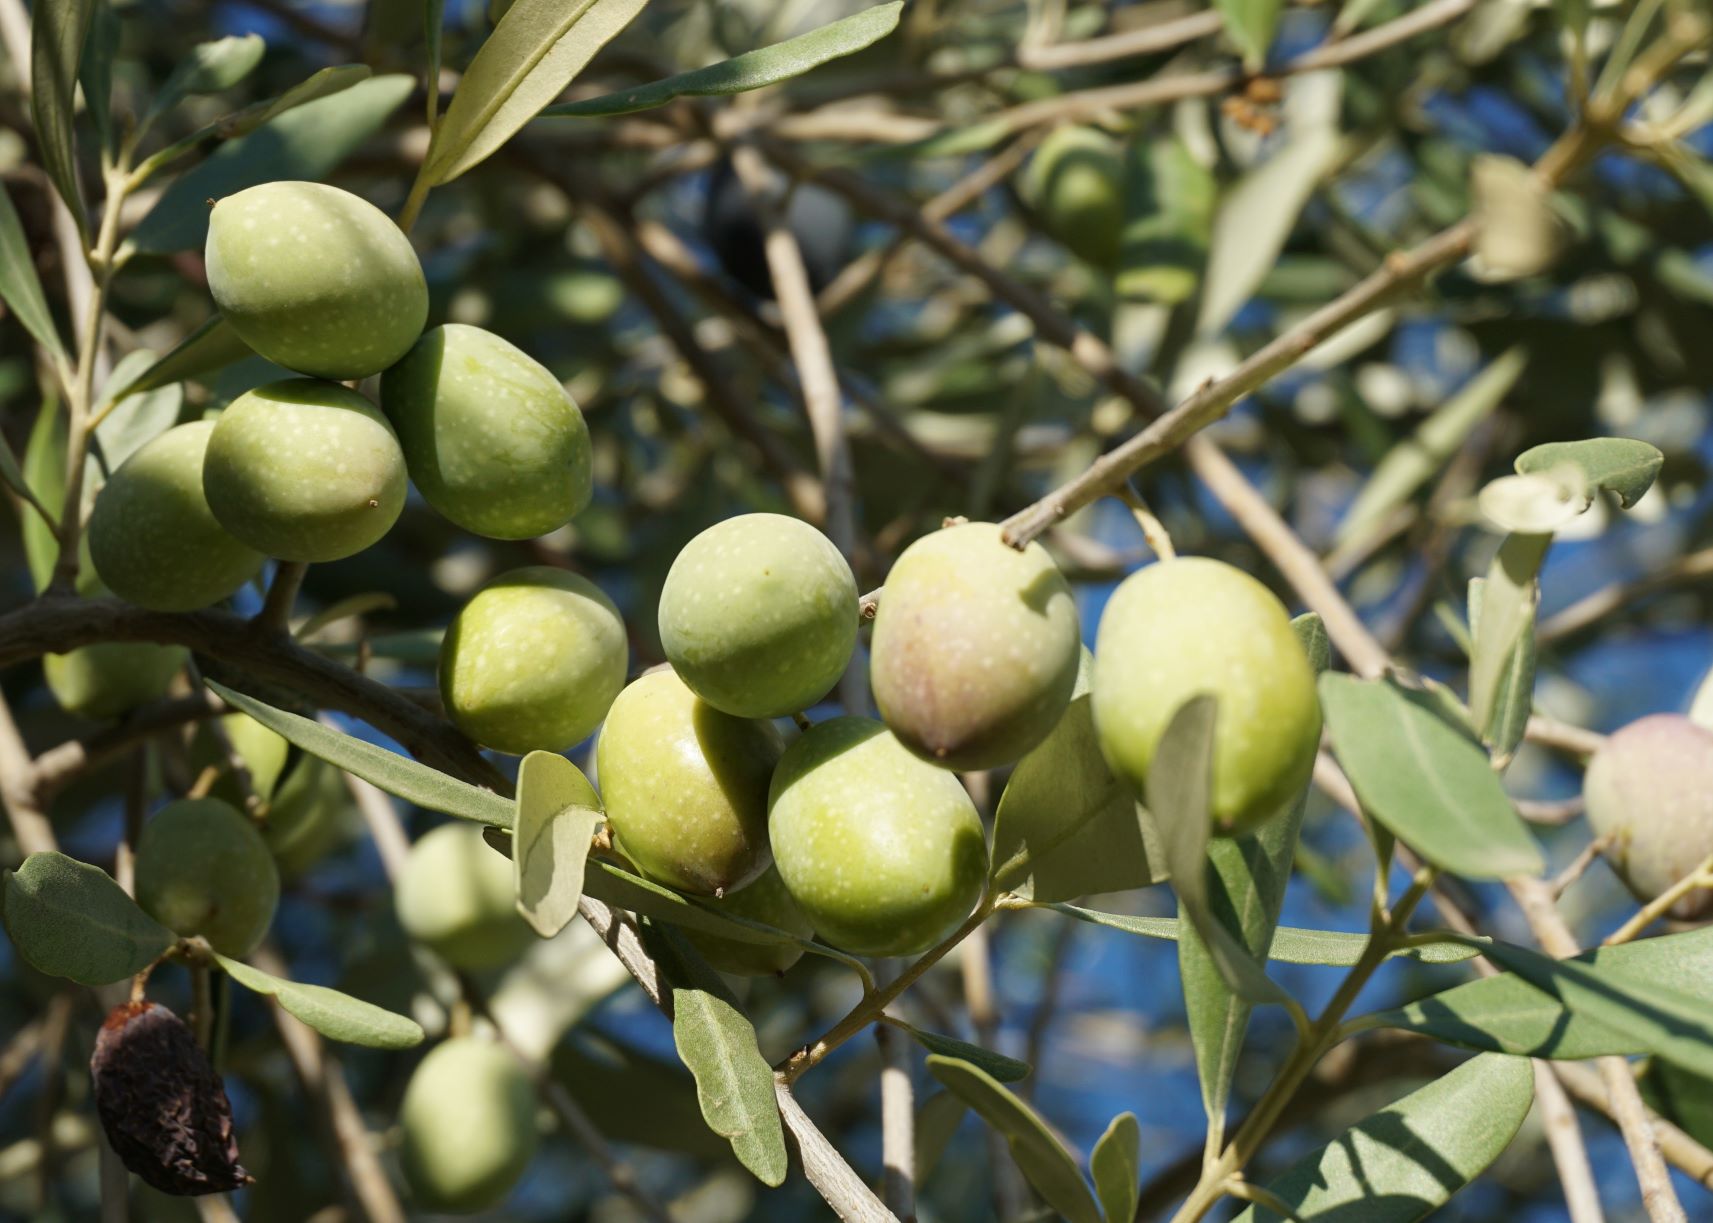
Over time, Sicilian farmers have developed a variant of this method that is much simpler, but takes just as much time. During the harvest, we were once made aware of a tree that bore particularly thick olives. As it turned out, this was a Nocellara Messinese. Our Sicilian co-workers advised us not to use them for olive oil production, but instead to simply wash them well and store them in a special brine until Christmas, a good 3 months. When asked how to prepare the brine, we were told a simple trick: Take a potato and put it in a large bowl filled with water. Then add some salt and stir until it dissolves. You do this until the potato starts to float. Bring this solution to the boil and let it cool before adding the olives. Then pour both into jars and close them. Until Christmas, these jars are just shaken occasionally to make sure that all the olives are well covered. The result is quite firm, somewhat bitter, but very tasty table olives, which are typically offered by many Sicilian families.
After reading the lengthy treatments of olives in the previous chapters you might be turned off to even try curing your own olives. But there are good news for you. Just by applying a bit of chemical knowledge the process becomes much better controlled, and good results are achieved in a fraction of time.
Since centuries farmers have used wood ash or quicklime to make alkaline solutions for extraction of the bitter components from their olives. You can still find recipes how to apply these traditional techniques, here is one.
To prepare the olives with lime, you will need 12-13 days to prepare plus at least a week of brine to allow the olives to absorb the aromas present in the solution. However, the result will leave you open-mouthed: sweet, tasty and richly flavoured olives.
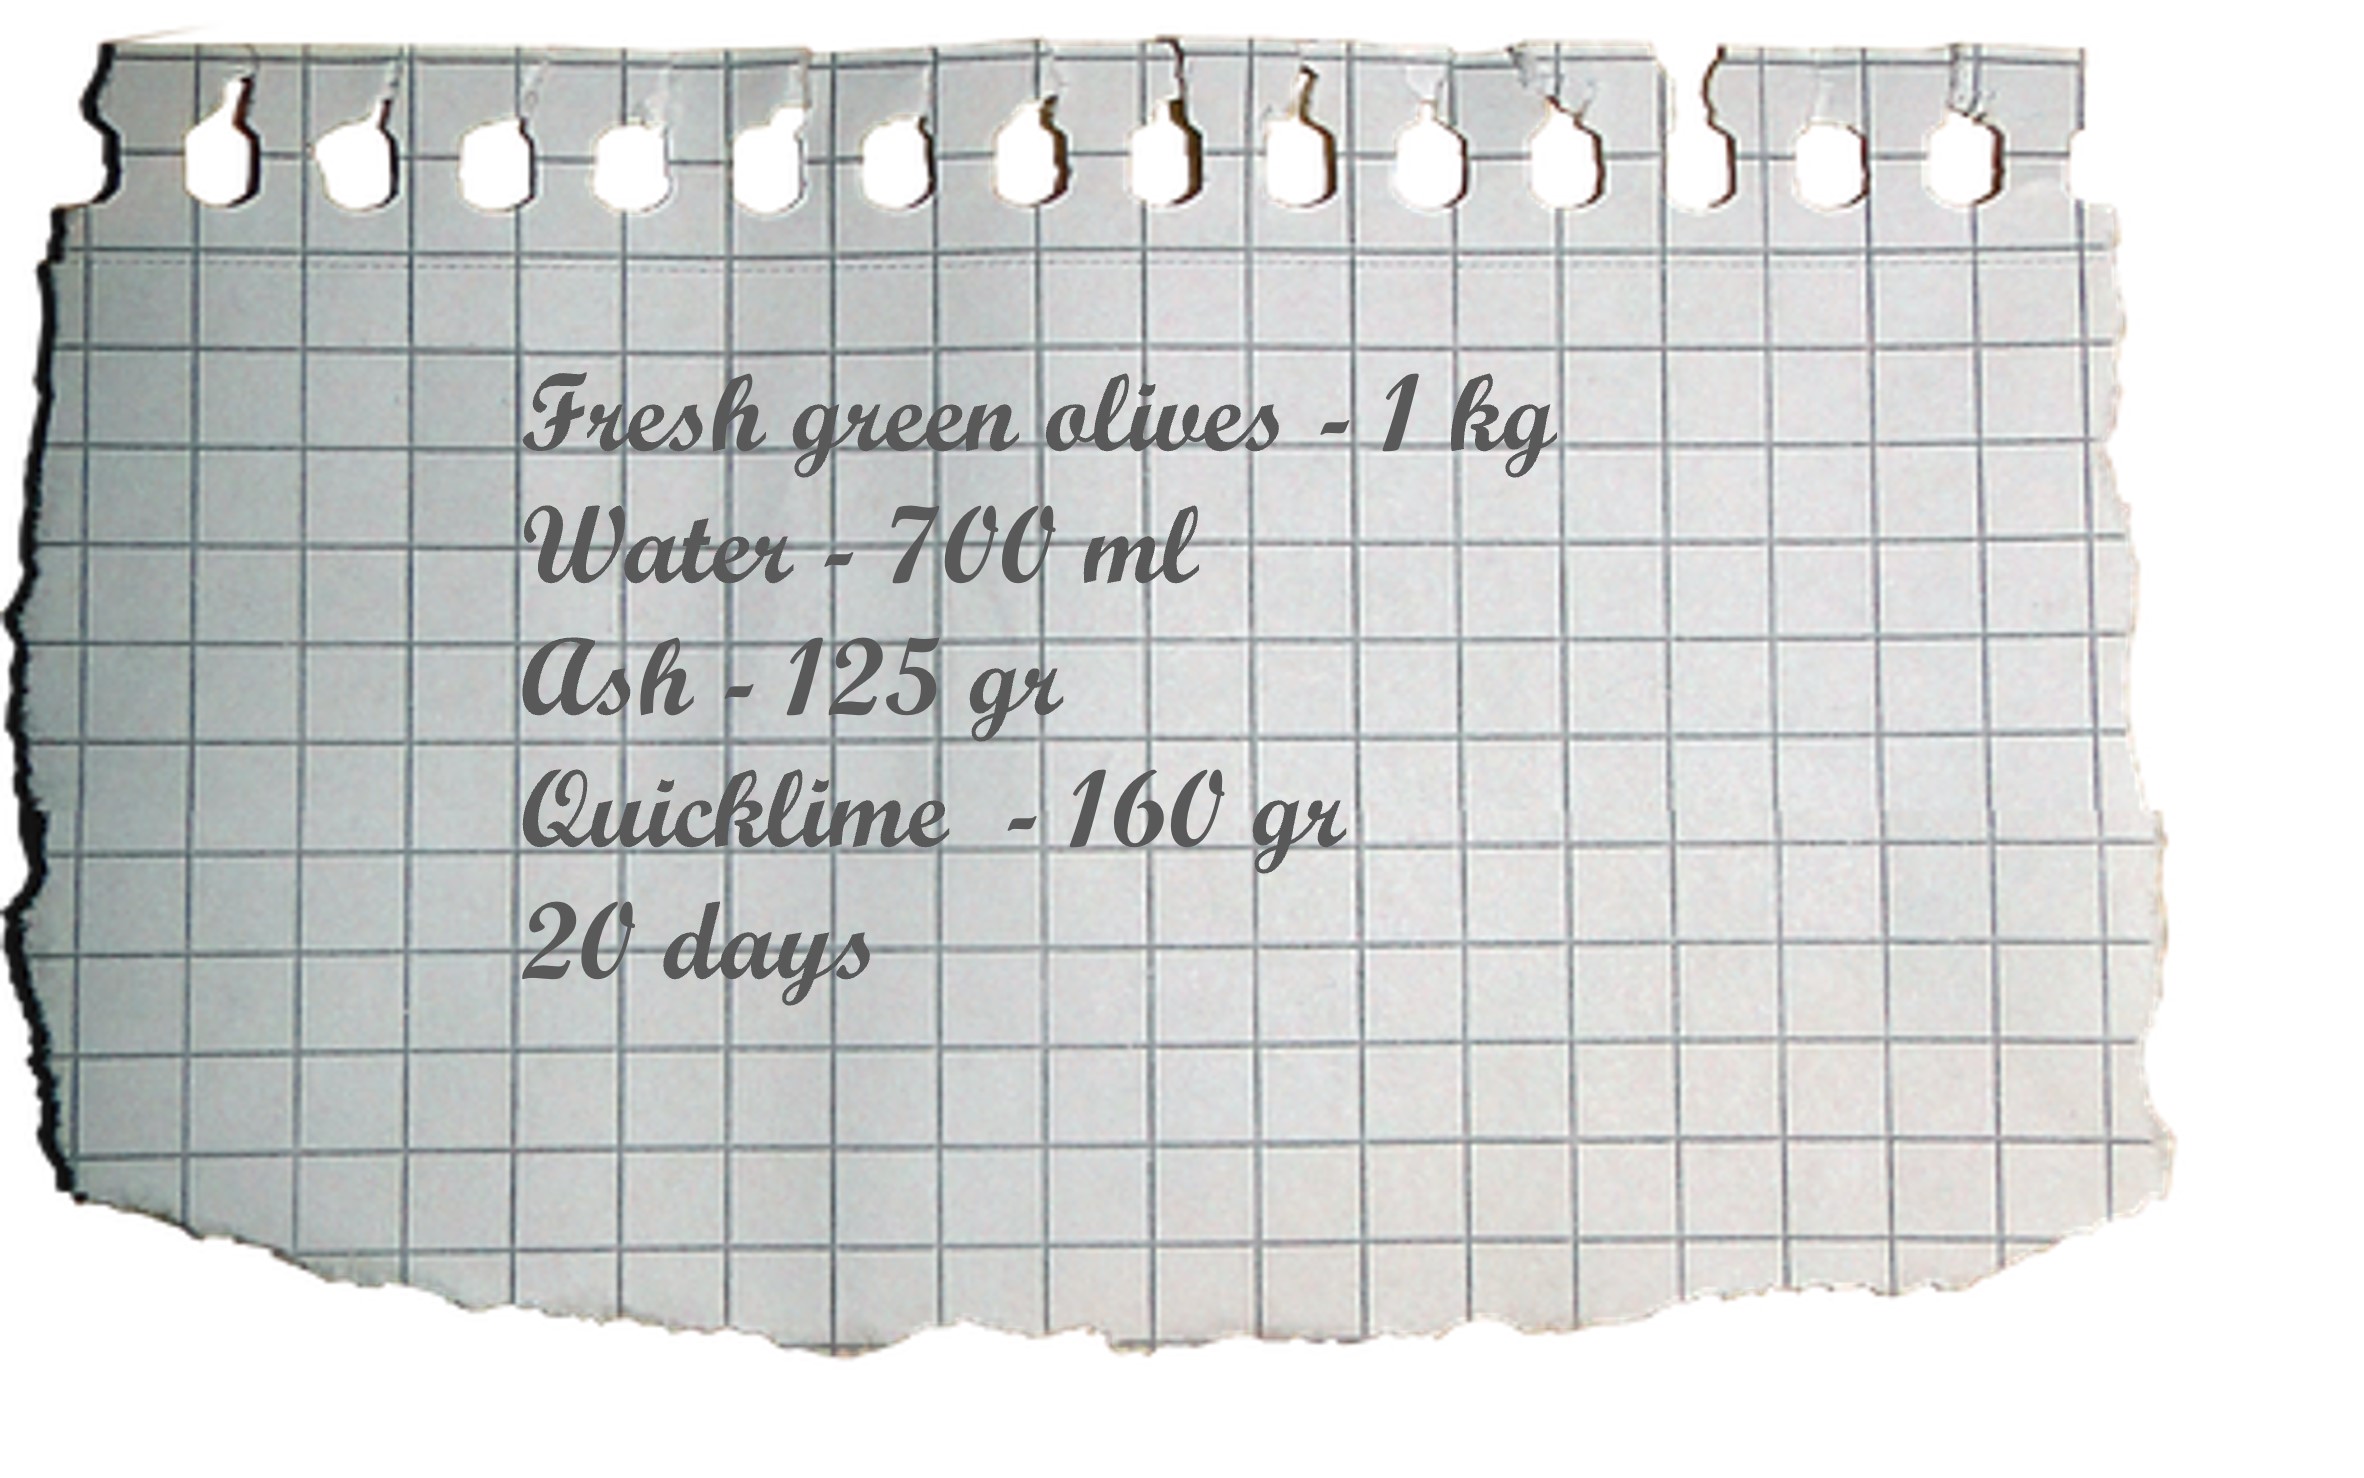
Put the clean olives to a glass jar large enough to hold them all and fill it with water until all the empty spaces have been filled. Put a presser on to keep all the olives below the water level and close the jar. Change the water every day for 3 to 4 days.
After two more days of resting in clean water, you can drain them completely and transfer them to a glass bowl. Add the quicklime and ash, add the water and stir well so that the olives are evenly coated with this gray mixture. Be careful not to put your hands in the quicklime with or without water, this could cause burns, so it is best to use gloves in this step.
Leave the olives in the lime for a week, stirring occasionally. It is not necessary to cover the bowl. After the week of resting in the lime, transfer everything to a colander in the kitchen sink and rinse the olives thoroughly until they are completely clean of lime residue. Again, it is preferable to use gloves.
As far as quicklime is concerned, just go to any building materials shop and you will find it without any difficulty. It really is the same lime that bricklayers use to prepare mortar. The ash you can collect from a fireplace, the important thing is that it is wood ash and that the ash is fresh. Once ash stayed at the open air for a while, the humidity from the air will have reduced its effectiveness. If you don’t have a fireplace, try asking some pizzerias with a wood-burning oven, they will probably not mind giving you some ashes.
We, personally, would not recommend even trying such recipes, because they are messy and don’t give reproducible results without experience. Much easier is the use of Sodium Carbonate, or Washing Soda, as an agent to create a controlled alkaline solution for extraction of the bitter components in olives. By doing just that you can shorten the extraction phase from weeks, as in the recipes above, to just hours! You can buy soda in a pharmacy or hardware store, but you should specify that it is for food use.
The process takes about 7-8 hours. The secret to making sure that the olives have been penetrated by the soda just right is to take an olive, cut it with a knife and see how far the soda has entered the fruit. In fact, the part that has been penetrated by the soda will be shinier. Consequently, the olives will be removed from the soda at the point where the stone has almost been reached!
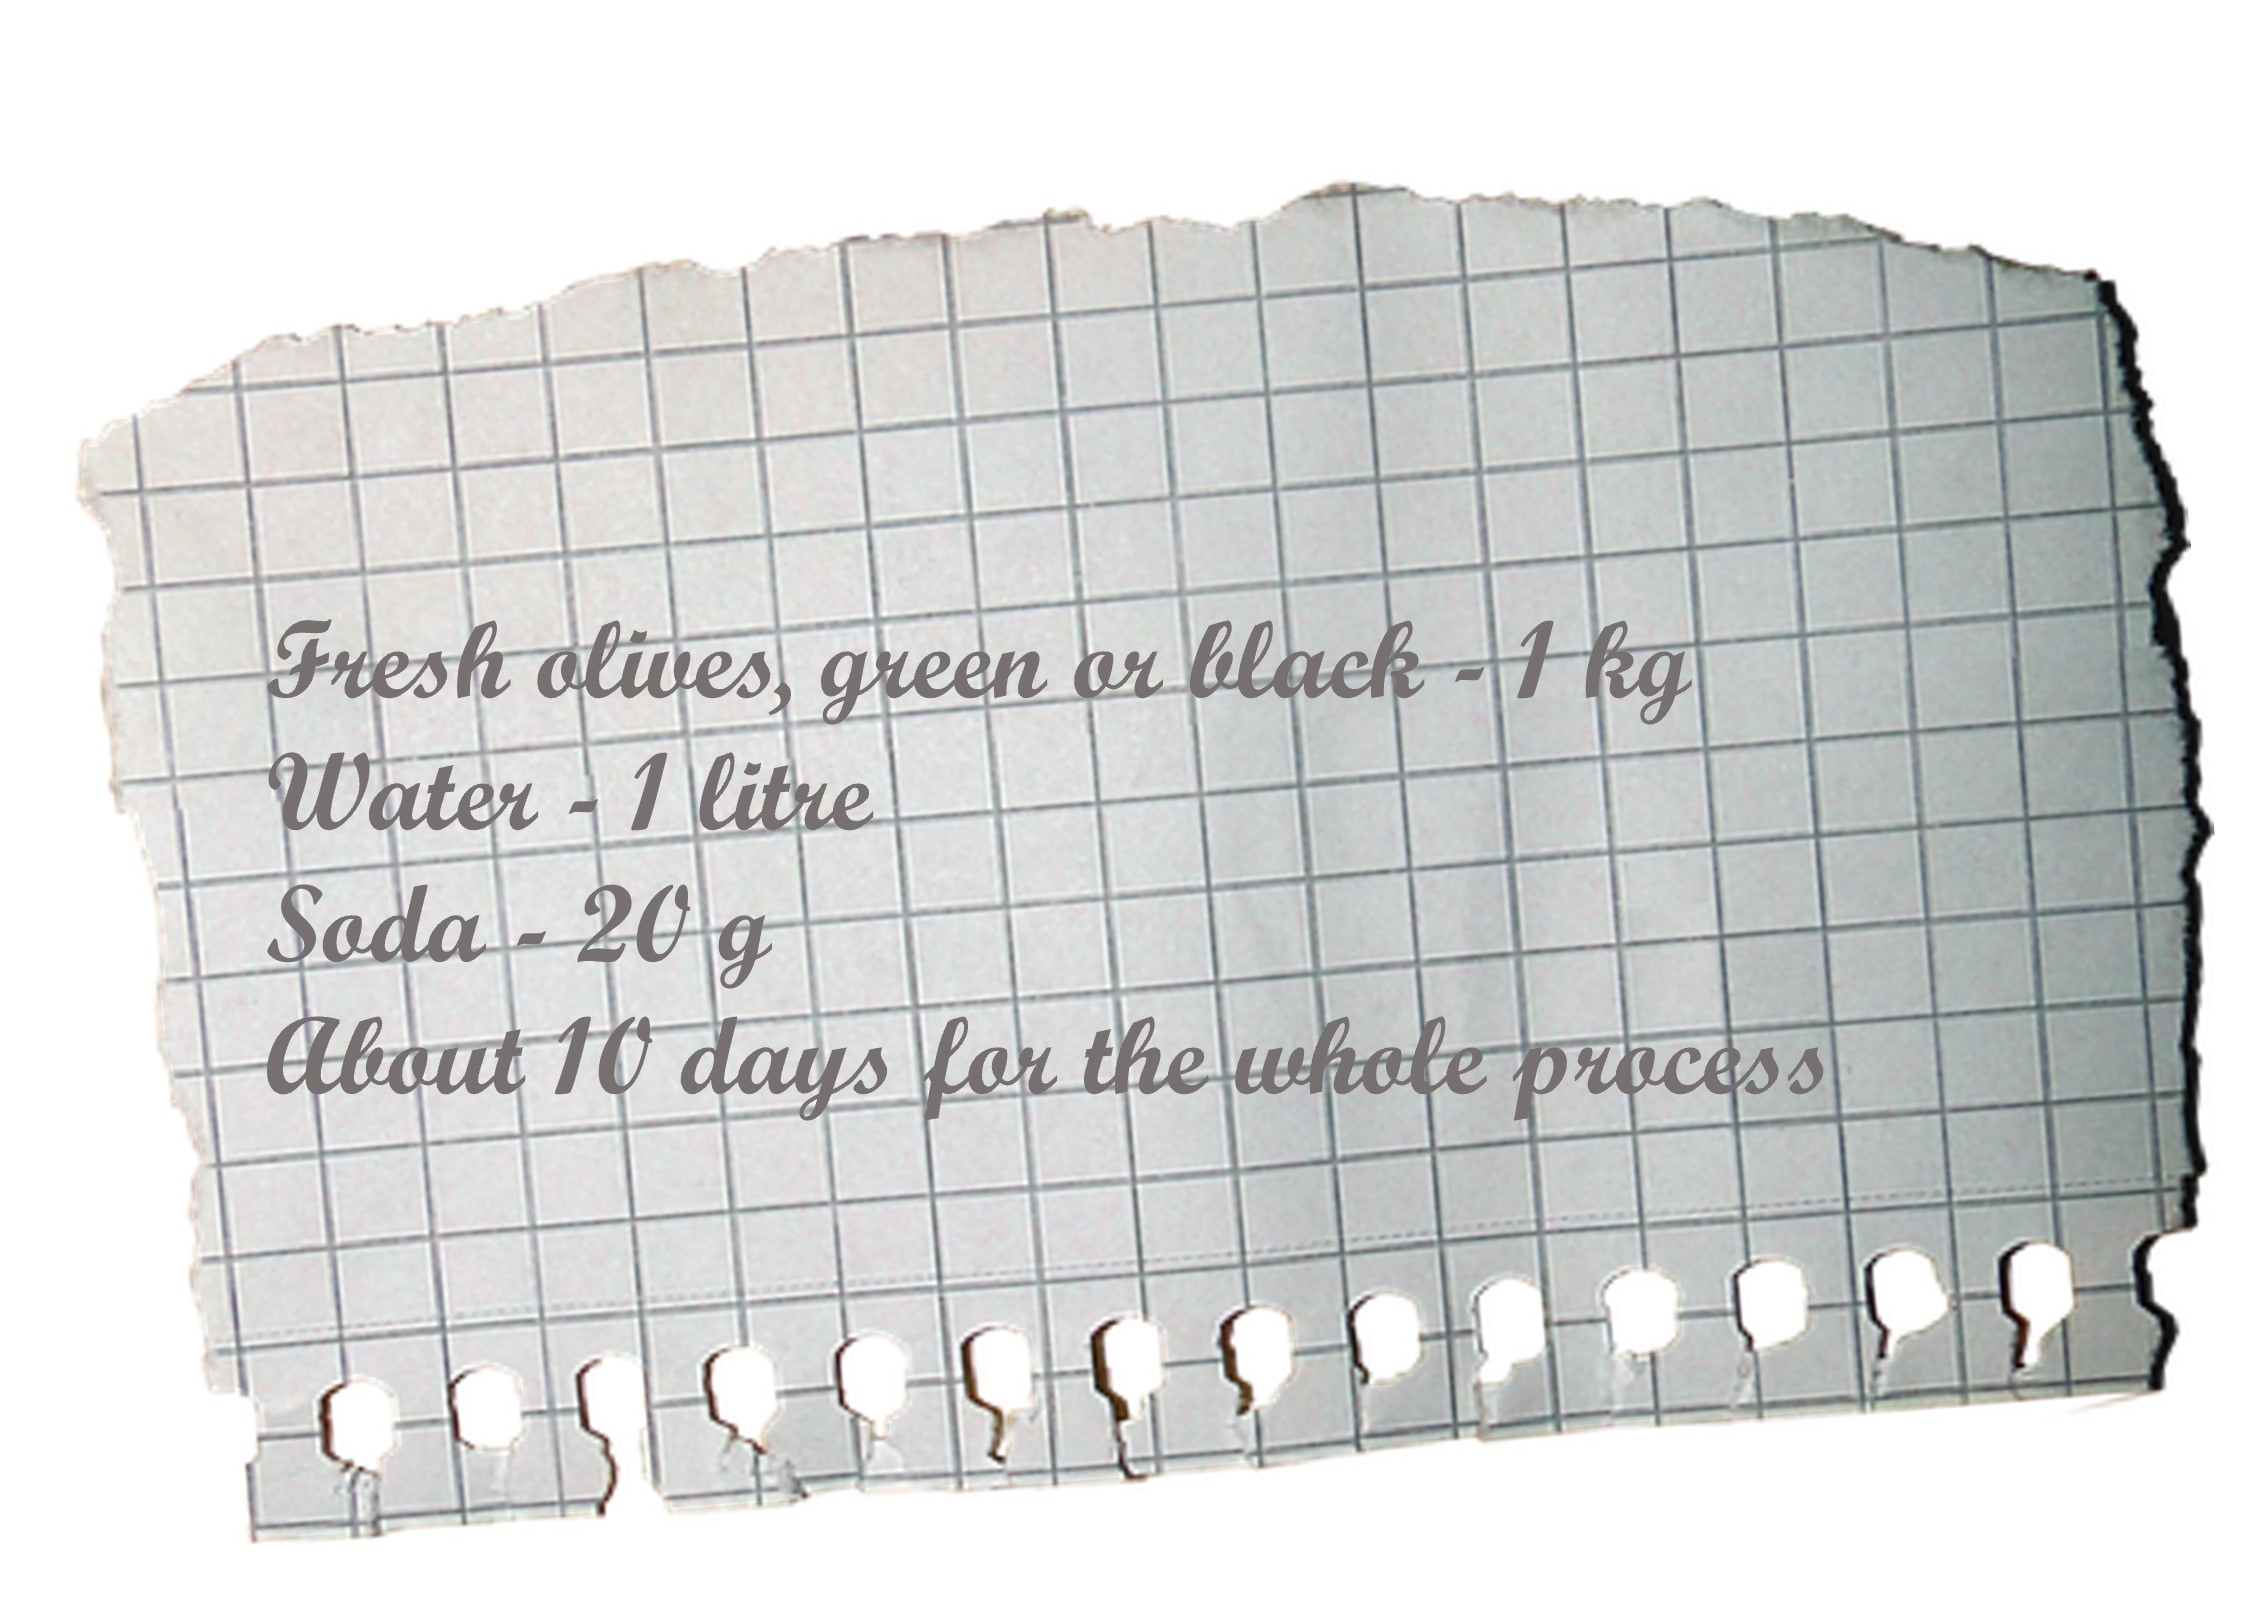
Dissolve the soda in one litre of warm water, put the olives in a container, add the soda solution. Stir vigorously. Then leave the olives in the solution for 7-8 hours, stirring occasionally.
Now take the olives out of the soda and place them in clean water to allow them to drain. This will stop the extraction and ensure that some of the typical olive taste is preserved. Change the water several times during the day. Towards the end the water will be clear, as opposed to the initially dark reddish colour of the extracting solution. This will take a few days. To make sure you have removed all alkalinity you can taste an olive. It should not have a soapy taste anymore.
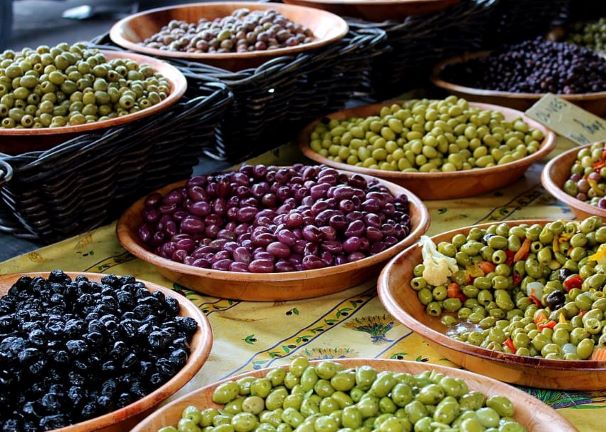
Once the olives have been rinsed, prepare a 6% brine and set aside to cool. Again, the salt is needed to ensure that fermentation takes place and the olives are well preserved. As with the other methods, in this stage you can add flavours, for example by adding wild fennel seeds, garlic and chili flakes when preparing the brine. Put the olives back into the jar, fitting them in as well as possible so that they occupy as much space as possible inside the glass jar. Add the brine and close well. Keep the olives in the fridge. After 4 days they can be eaten. Properly cured they will be preserved for months.
In any case, it is recommended to add a dash of very good olive oil before eating. Take a look at our shop. 🙂 If you have any suggestions, other preparation methods or simply a comment, please write to us at [email protected].
Fresh olives and herbs can be contaminated with Clostridium botulinum. Although it is possible to keep the bacteria at bay by following kitchen hygiene rules, it is sometimes not possible to remove all bacteria in household use. Clostridium botulinum is a bacterium that can multiply without oxygen and forms so-called spores. These spores are extremely resistant even to unfavourable environmental influences. During multiplication, neurotoxides can be formed, which can lead to the disease botulism in humans. Therefore, it is important to follow the methods described above carefully in terms of time and quantity, and not to experiment.
Curious what we do with our olives? Well, we decided to use our olives to make organic olive oil. If you are interested, you can find our excellent organic extra virgin olive oil and deliciously flavoured olive oil in our webshop. We import the olive oil ourselves from Sicily and can therefore guarantee the best quality. Take a look at our webshop and get to know our products!
Sources:

The bag-in-box (abbreviated as BiB) has been known as a packaging concept for a long time. The packaging consists of
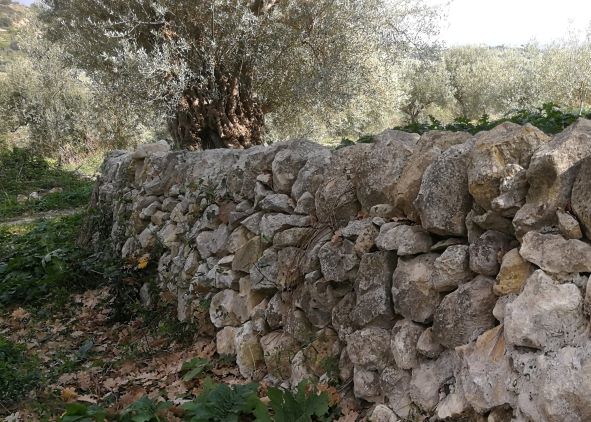
EU support for environmental investments Next to many hours of sun, occasional heavy rainfalls become more and more typical for
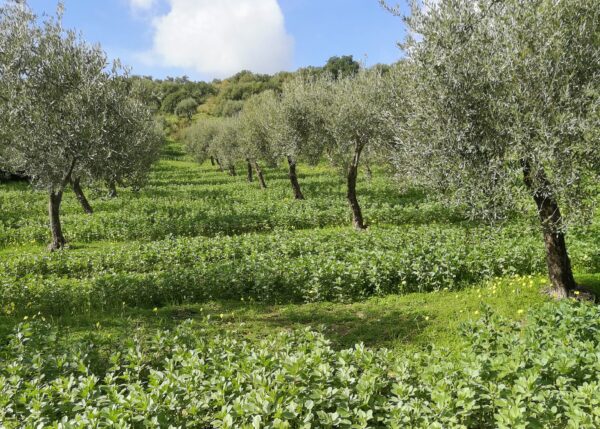
Many people have olive oil in their kitchen. The choice in the supermarket is huge because of the wide range

il circolo V.O.F.
Tacituslaan 7
3584AP Utrecht
Netherlands
[email protected]
tel: +31 (0)6 42254141
KvK/HRB: 74704257
BTW/MwSt: NL859998502B01
5 euro discount on your next purchase?
Sign up for our newsletter with tasty recipes and interesting background stories about il circolo olive oil and receive a discount code for yourself and your friends (displayed after email confirmation).
This website uses cookies so that we can provide you with the best user experience possible. Cookie information is stored in your browser and performs functions such as recognising you when you return to our website and helping our team to understand which sections of the website you find most interesting and useful.
Strictly Necessary Cookie should be enabled at all times so that we can save your preferences for cookie settings.
If you disable this cookie, we will not be able to save your preferences. This means that every time you visit this website you will need to enable or disable cookies again.